Creality3D Ender 3 is a great 3D printer, but if you want to buy an Ender 3, you might hear that the print area for Ender 3 is not as large as the print build surface. Ender 3 mentions the promotion It's the print area is 220 x 220 mm, but the print platform has 235 x 235 mm, which means that nearly 14% of the print area is unused.
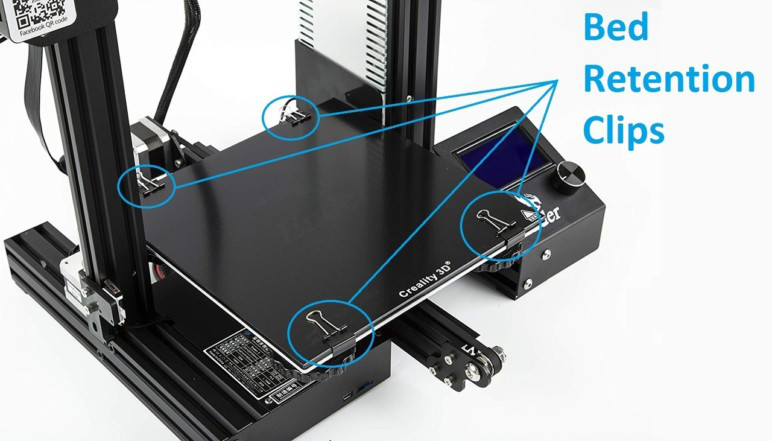
So many people are more curious about why the remaining 14% of the area is left behind?
There are several main reasons:
· Machining tolerances: The structure of the Ender 3 is the frame of mechanical joints and connecting rods of various sizes. Each component of any automatic system has a tolerance associated with the operation used to create it. If you add all potential tolerances, you get a so-called tolerance stack. Additional bed space allows for tolerance stacking in the machine. The king size bed allows for this kind of error in manufacturing.
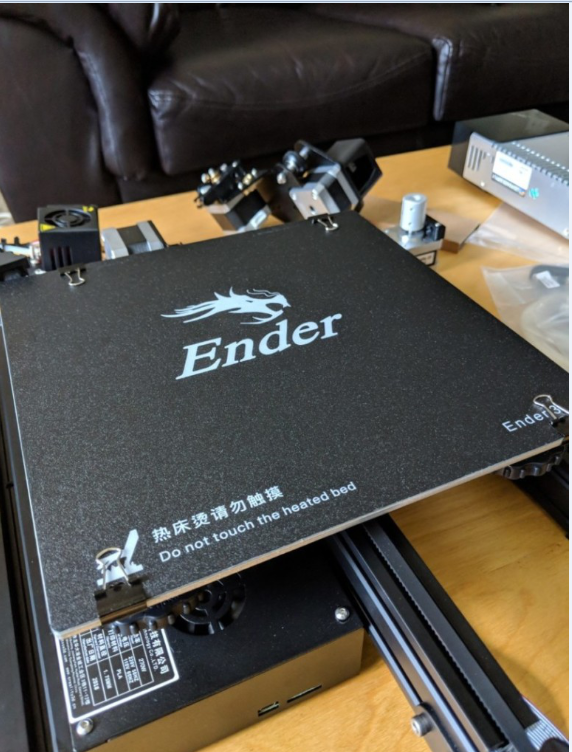
· Bed retention: Unless you have a magnetic bed or print on something that is bonded to the carriage of the print bed, you may have a series of clips that clip the build surface to the carrier platform. The clip that comes with the Ender 3 is an office binder that takes up a lot of space. Adding 15 mm to all sides of the bed makes it easier to ensure that the nozzle does not interfere with the bed retaining clip.
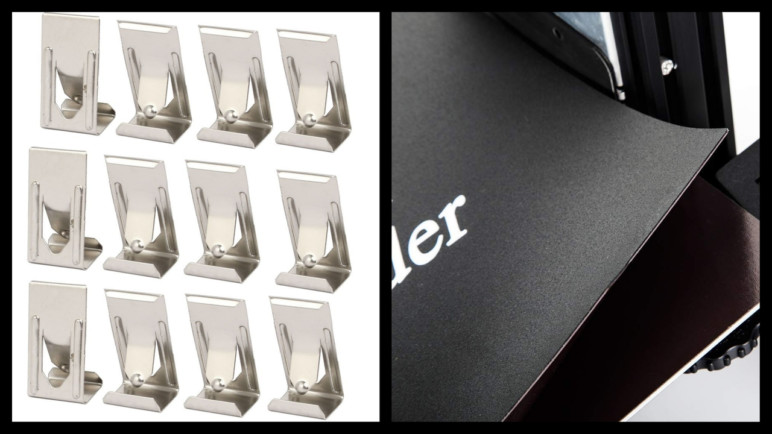
Of course, if you feel unsatisfied that you lose an extra 14% of the print space, we also have a solution available to you. First, you can change the way the print bed is attached to the frame instead of using the binder that comes with the Ender 3 stock. There are two options to change the clip or change the print bed.
Cut the clip: Switch the binder to get the low-key options like these photo frame springs. The advantage of these frame springs is that they can be locked in place and remain stable. If your printer goes down and enters them, they will also have enough power to remove them.
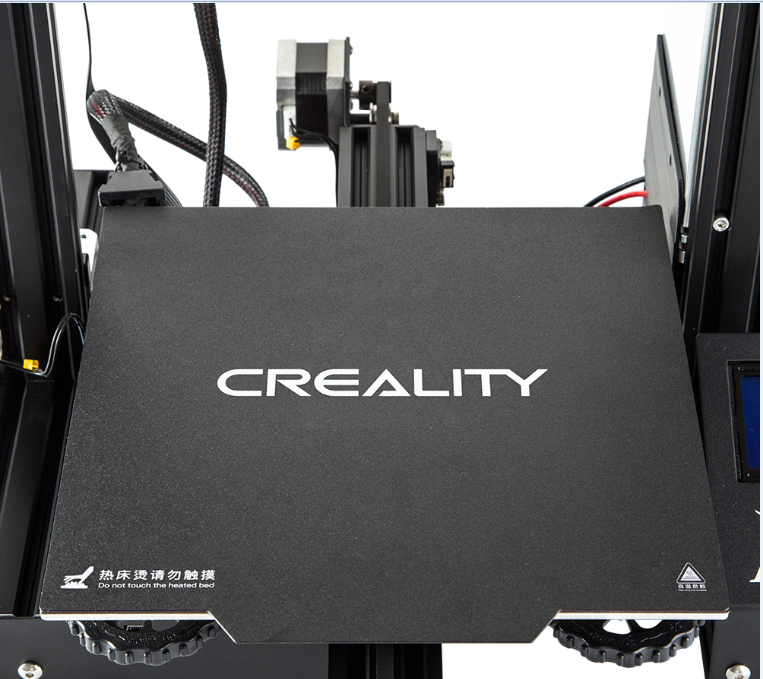
Replacement of the printing bed: The printing bed must be clamped with a magnetic bed that must be used with Creality so that it can be mounted directly on the construction surface of the Ender 3. The flexible build platform quickly strips the magnetic base and allows you to distort it, making it easier than ever to remove prints. However, please note that the performance of the magnetic bed begins to be higher than 60 ° C, which means it is not compatible with ABS filaments.
- Since the print does not have a bulky binder, let's talk about the second step: programming the 3D printer to use this space. To unlock the true potential of your Ender 3 bed size, you need to update the motherboard computer's firmware. There are two necessary steps to opening a larger bed size:
- Exchange firmware: By default, Corey's Ender 3 firmware only allows you to use a 220 x 220 mm print surface. However, Creality's firmware is an older and more basic version of the official Marlin RepRap firmware. (Creality has made some changes to make the software work with Ender 3.)
- Modify the code: Once you have the latest version of the firmware, you can make the necessary changes to the bed size in the Marlin code and refresh it to your printer. Changing the Marlin code requires some experimentation. For safety reasons, we recommend a maximum bed size of 230 x 230 mm. (Increase 9%!) Please note that while refreshing the firmware may seem extreme, it also adds protection against hot end runaway protection and more advanced controls.
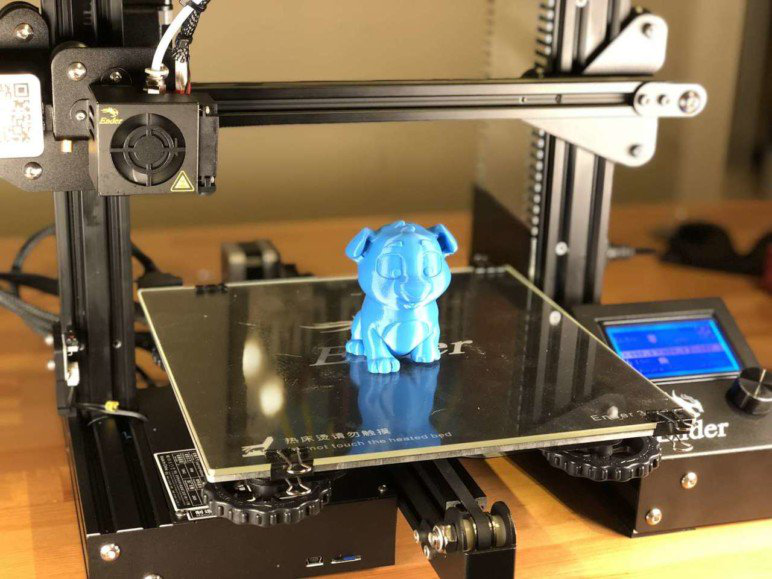
Creality decided to use the available Ender 3 bed size to set the firmware to be less than the actual size of the build platform, measuring 220 x 220 mm. This sounds logical when you consider tolerances and bed fastening. But does each edge need 15mm?
Technically, the answer is "no." A 5 mm lip should be enough. Therefore, we have reviewed how to achieve a 230 x 230 mm print area by modifying the print bed and firmware of the 3D printer.
It is not recommended to set the size of the Ender 3 bed to a full 235 x 235 mm, as edge printing can cause problems. But feel free to play with it and find the one that best suits you and your Ender 3.

