1. Identify poor adhesion
2. Build plate material
2.1Thermal conductivity
2.2 Surface adhesion
3. Hotbed temperature
3.1 Calibrating hotbed temperature
3.2 PID Tuning
4. Leveling
4.1 Manual leveling
4.2 Auto bed leveling
5. Z-axis offset
6. Surrounding temperature
7. Other Solutions
7.1 Slicer Setting
7.2 Filaments' GTT
1. Identify poor adhesion
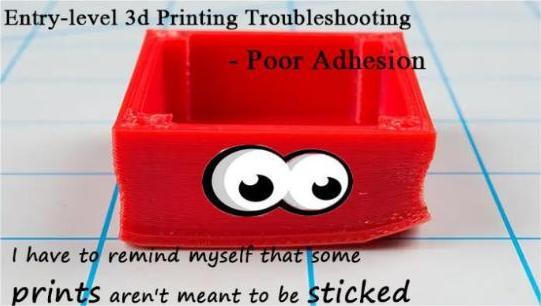
Before optimizing the adhesion of the print, you might want to recognize some common symptoms of poor adhesion. You shall not ignore the possibility of poor adhesion if any of the four situations below occurs when printing:
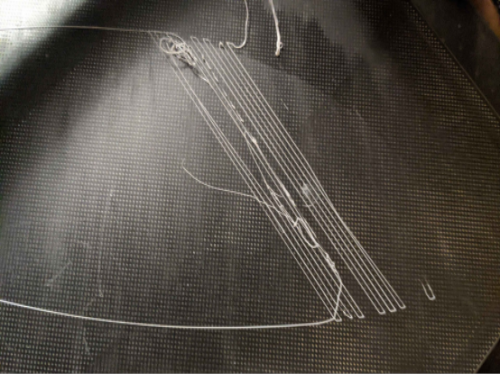
2) Warping on the corners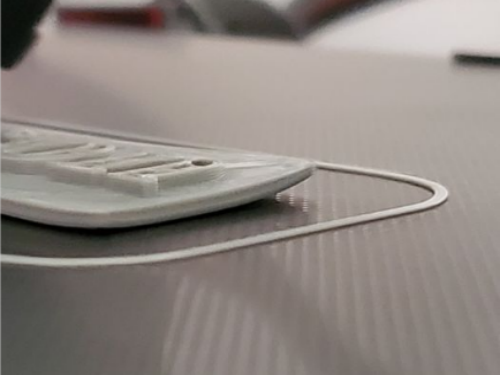
3) Partial/complete fall out of the print plate.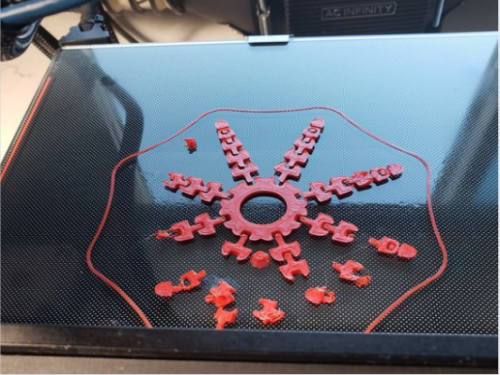
2. Build plate material
Known build plates launched by Creality so far include plastic soft magnetic stickers, carborundum glass plates, PEI metal plates, PC coating + spring steel plates, platform stickers, translucent tempered glass, glass fiber board, nylon tape (CR-30 CoreXY), and so on, among which everyone prefers to use soft magnetic stickers, PEI metal plates, PC coating + spring steel plates, and carborundum glass plates. Different materials of build plates have different thermal conductivity and surface adhesive abilities.
2.1 Thermal conductivity
We all know to heat the print bed when printing to make the print stick to the build plate. The principle behind it is to heat the filament to "Glass Transition Temperature(GTT)" or “half-melted" status. In this situation, the filament can adhere to the print plate. The thermal of the build plate came from the small heat block attached to the center of the reverse side, which requires the build plate to have good thermal conductivity to evenly deliver the heat to the whole build plate. If not, the temperature on the sides will be significantly lower than the center, and that causes warping.
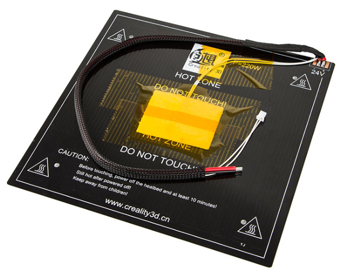
So which materials of the printing plate have better thermal conductivity? We generally recommend metal plates and carbon-crystalline silicon glass. The thermal conductivity of carbon-crystalline silicon glass at room temperature is 120 W/m•K and PEI (stainless steel) is about 15W/m•K. The glass plate is the best choice in terms of performance because of its uniform heat conduction and surface flatness, while the PEI plate is also favored by many people because of its relatively good performance and convenient release.
2.2 Surface adhesion
In addition to thermal conductivity, we should also pay attention to the tackiness of the build plate surface. This is related to the flatness of the surface of the platform itself and the material of the contact surface. The difference in flatness affects our subsequent build platform leveling, and the contact surface material directly affects the adhesion of the build plate.
Carbon-crystalline silicon glass: The flatness of the glass surface is the best compared to other bed materials. In addition, the surface of the carbon-crystalline silicon glass has a composite microporous coating to ensure that the model can better adhere to the platform.
PEI: magnetic flexible metal sheet plate that’s powder coated with PEI on one side. Smooth side and stickier side, cool down and don’t need any force to remove.
3. Hotbed temperature
Generally speaking, the best hot bed temperature for printing PLA is 55-70°. If the temperature is too low, the model is prone to the problem of insufficient viscosity; while the temperature is too high, it is easy to cause elephant feet and excessive adhesion. If the model is larger, the temperature needs to be set higher to ensure that there is enough thermal around the platform to ensure the adhesion of the entire build plate.
3.1 Calibrating hotbed temperature
Professional 3D printers may select the optimum temperature for printing PLA on different printing platforms through warping testing and tensile testing. But for newbies in 3D printing, we can simply find a relatively suitable temperature of the hotbed through the incremental method. For example, when we print the first layer of a single model multiple times, first set the temperature of the hotbed to 55°, then increase it by 5° each time and observe or touch the adhesion degree of the extruded filament on the build plate. If the temperature is increased to 70°, do not go up so as to avoid excessive melting of the filament and the occurrence of elephant feet. If the build plate's temperature reaches 70° and the filament still doesn't stick to the plate well, there may be other reasons.
3.2 PID Tuning
If you are using Kilpper firmware, you can also use Klipper's unique PID calibration to minimize the temperature fluctuations during the [heating-cooling-reheating] process of the hotbed, providing a relatively stable hotbed temperature.
PID stands for:
Proportional- the current and requested temp
Integral- historical temp error
Derivative- speed of heating
PID determines how to heat the hotbed by calculating the above three values. PID calibration requires connecting the printer with Klipper firmware to a G-code terminal such as OctoPrint’s/Fluidd’s built-in G-code console/Pronterface and entering the corresponding command in it. The specific 10 calibration steps are described in detail on the ALL3DP website: https://all3dp.com/2/klipper-pid-tune-tuning-3d-printer/, there is also an article on the 3D Printer Beginner website for your further reference: https://3dprintbeginner.com/hotend-and-heatbed-pid-tuning-in-klipper/
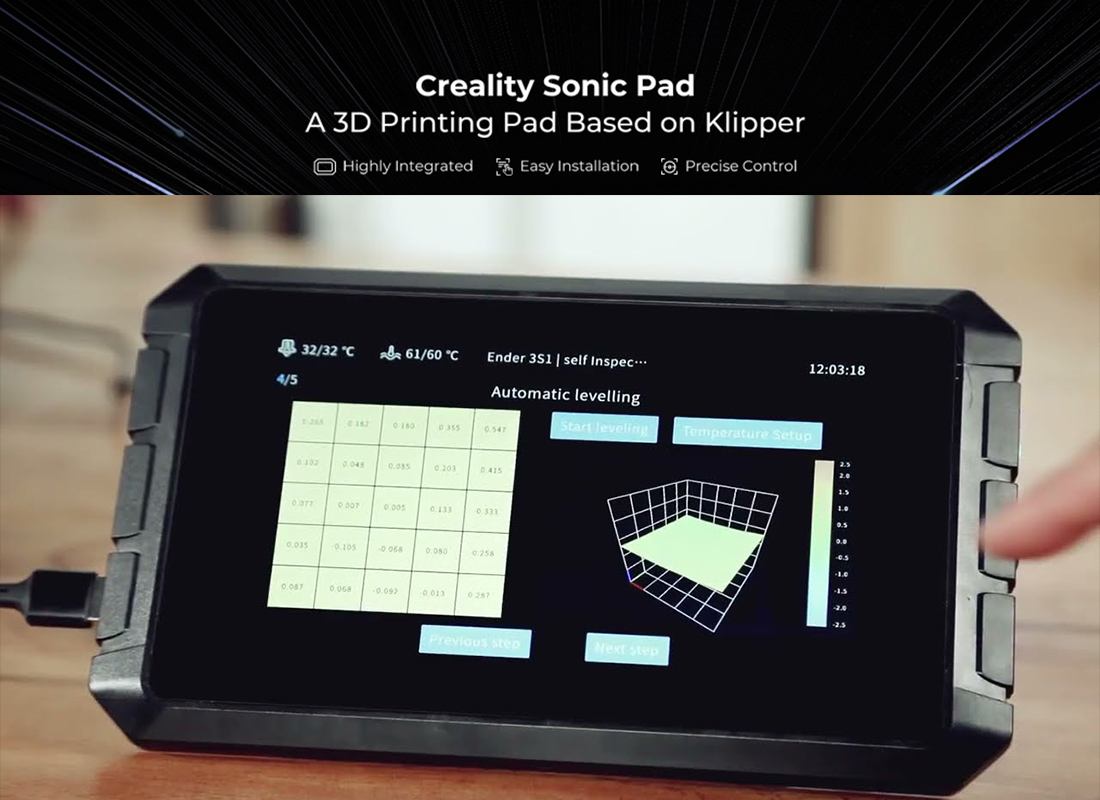
**Creality Sonic Pad has a PID calibration function, which is very convenient to calibrate the heating of the nozzle and the hotbed with one click, and there is a dynamic heating graph on the home page of the screen, which allows you to observe temperature fluctuations in real-time.

4. Leveling
Leveling is a very basic operation in 3D printing. Normally, before starting printing for the first time, we need to complete leveling and Z-axis offset to ensure that the bed is in a horizontal state, this keeps the nozzle equidistant from the 4 corners. If you find that your prints are sticking very firmly on one side of the platform, but falling off easily or warping significantly on the other, it's most likely because the nozzles are not equidistant from the sides of the platform.
4.1 Manual Leveling
Manual leveling is not required for every print, but if you change to a different print platform or after multiple prints, remember to manually level it again as the platform height may change. Follow the steps below to complete manual leveling.
1. First set the z-axis height to 0
2. Then set the z-axis offset to about -2mm
3. Turn off the stepper motor
4. Drag the hot end to the corner of the print bed
5. Twist the leveling nut under the hotbed to adjust the height of the printing platform, so that a piece of A4 paper can roughly slide between the nozzle and the printing platform.
6. Level the 4 corners in turn
4.2 Auto bed leveling
In the previous step, we manually adjusted the height of the four corners of the printing platform, but now the printing platform is not completely flat. This is because the surface of the printing platform may have small height drops such as slight depression or protrusion. At this time, we need to use automatic leveling, so that the probe can record the height at multiple points on the platform, and do auto leveling when the nozzle passes through the points. The height of the nozzle is adjusted automatically, so the automatic leveling is to adjust the height of the nozzle in the individual parts rather than the height of the whole platform.
**Currently, the auto-leveling upgrade kits for Creality 3d printers are mainly CR Touch, which is equipped with a metal probe for more durability.
5. Z-axis Offset
What is the ideal distance between the nozzle and the hotbed? We generally think that the optimal distance from the nozzle to the hotbed is half the nozzle diameter, if you are using a 0.4mm diameter nozzle, the optimal distance is roughly around 0.2mm. And it is actually related to the print layer height we set as well.
Generally speaking, we judge whether we need to do Z-axis compensation based on the observation of the first layer of printing. Touch the extruded filament at a safe distance. If you can feel obvious circular protrusions, you can adjust the z-axis compensation to a lower value until the surface of the filament is flat and stick to the hotbed; if the first layer is too thin or even transparent or there are obvious particles, you should increasing the z-axis compensation.
If you have leveled the print bed, the z-axis compensation parameters are generally between -0.15mm~-0.25mm. Normally, a good first layer should be flat, opaque, and free of particles.

(img source: https://3dsolved.com/ender-3-z-offset-how-to-adjust-it/)
6. Surrounding temperature
The temperature and stability of the environment also have a significant impact on the stickiness of the model. As the surrounding temperature drops, more people experience warping. If you pay attention to the figures of the printer during the printing process, you will find that the hotbed and nozzle are not keeping a constant temperature at all time, but repeats a process of "heating-cooling-reheating". If the surrounding temperature is too low, the build plate will be harder to heat to the actual set temperature and cool faster. The outer edge of the model (farthest from the heat source of the build plate) will easily cool down, detach from the platform, and warp. Therefore, creating a printing environment that is as stable as possible is very important for good adhesion.
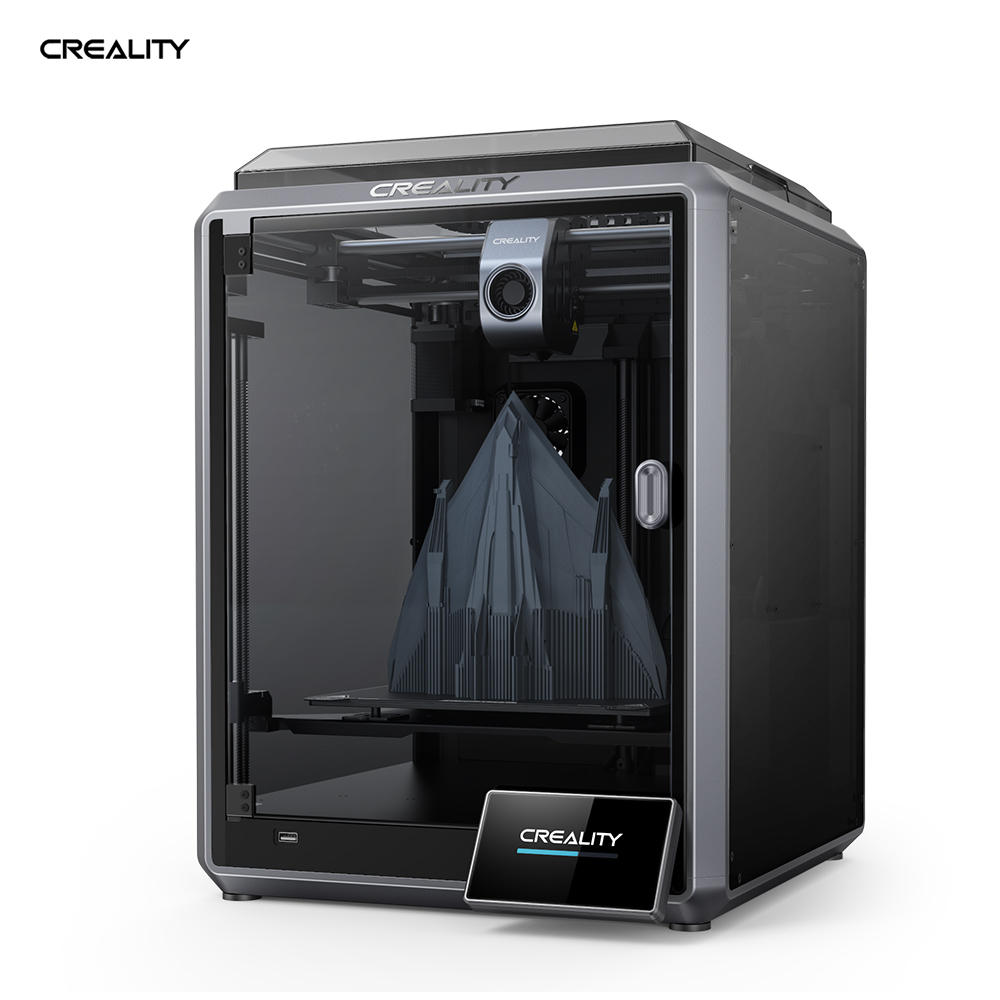
Choose a way to stabilize your printing environment by closing doors and windows, putting in a cabinet, making your own insulation cover, or using a Creality enclosure, etc.
In addition, many people also use a trick: print a "windbreak wall" around the model, which can be set when slicing with Cura or other slicers.


7. Other Solutions
7.1 Slicer Setting
Wall thickness: The wall thickness should not be too high, otherwise it will increase the possibility of warping.
Infill setting: Set 15~30% infill for models, and choose a more stable filling structure, which can make the outer wall of the model easier to maintain its shape due to the support of internal filling. Notice that too much infill will increase the likelihood of warping.
Printing speed: You can print the first layer a little slower, the speed can be reduced to 50% of the normal print speed, and the fan speed should be reduced. Make sure the first layer prints well and sticks smoothly before increasing to normal print speed
Adhesion assistance: If necessary, you can set the skirt or raft in the slicing software to further increase the bottom surface area of the model and improve the adhesion. Also, a raft can solve the imperfection of the first layer and improve the printing quality. Since the raft consumes more filament, we generally set the skirt first, if it is still not sticky enough, we then try to set the raft.

7.2 Filament's GTT
Different filaments have different printing temperature requirements, we can understand this from the "Glass Transition Temperature (GTT)" of the material itself. Glass Transition Temperature "is the temperature range where a thermosetting polymer changes from a hard, rigid or “glassy” state to a more pliable, compliant or “rubbery” state."
(This relatively straightforward explanation comes from Reddit: https://www.reddit.com/r/3Dprinting/comments/3v1nnp/eli5_what_is_the_glass_transi
tion_temperature/).
For example, the most commonly used PLA has a GTT of 55-60° (according to ScienceDirect), which indicates the solid PLA at room temperature begins to deform and melt into gelatinous at 55-60°, so the temperature of the hotbed is set to 55-70° This allows the first layer to remain gelatinous and adhere to the platform. Then we know that the temperature of the hotbed can be set according to the GTT of the filament (GTT is the minimum transform temperature, and the hotbed is recommended to set a temperature a little higher than it).
Table 1 below is the GTT of three common filaments, and Table 2 is the recommended printing temperature range for these filaments (all collected from the ALL3DP website). Since there are many types of filament on the market, the specific printing temperature requirements are recommended to be determined according to the product description and your temperature test before printing.


**Although the website recommends a PLA hotbed temperature of 20-70°, our usual printing experience tells us to print within the range of 55-70°
**Interestingly, we found some conflicting voices during collecting data: Table 1 says that the GTT of ABS is around 105°, and the hotbed temperature should be 110°; while in Table 2 the ABS hotbed temperature suggested is only 80-110°, so which value should we believe? Probably the correct answer depends on our own practice. It also shows that there are still many 3D printing guidances waiting for further improvement and verification. What are your thoughts on this?

